
|
|

|
|
|
 17-02-2009, 06:41 PM
|
#1 | |||
|
AU DIE HARD
  
Join Date: Nov 2005
Location: Between 2nd and 5th gear
Posts: 5,073
 
|
With my XR not holding in the driveway on the park brake thought I would have a bit of a look and adjust
 : What a :sm_headba : What a :sm_headba Did the usual search but not with much luck so have deciede to put it all on one page Step 1 Place car on level ground and chock front wheels both ways to avoid rolling in either direction.release handbrake and place in neutral Step 2 For minor ajustments, this can be done from inside the car, the adjuster is located at the base of the hand brake handle. This can be seen clearly by removeing the cover . 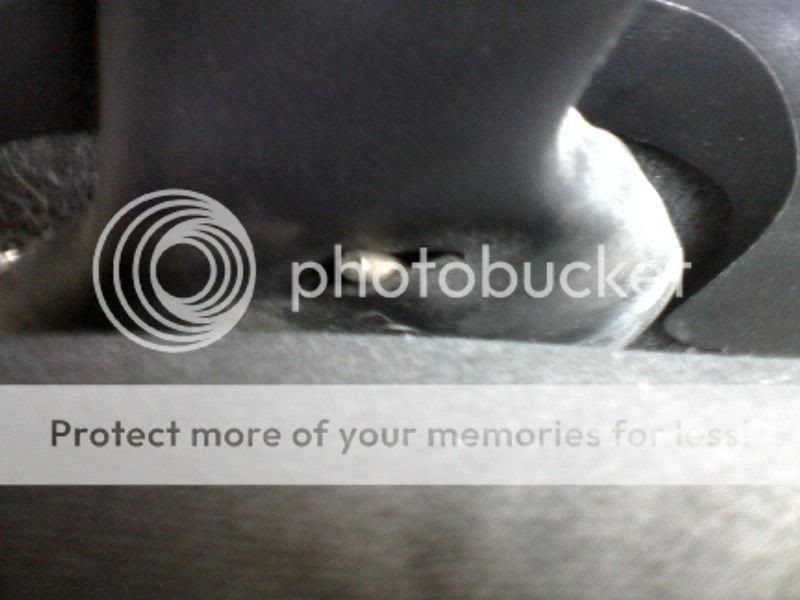 . 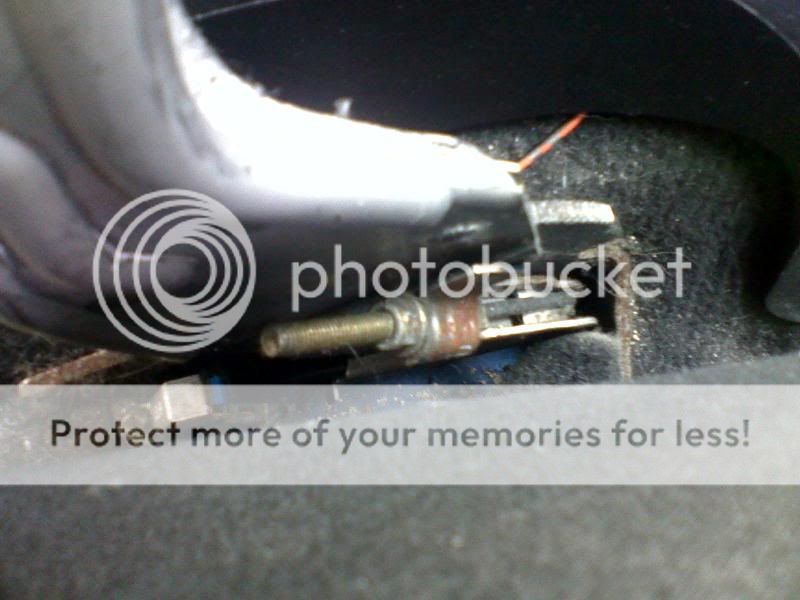 release hand brake,Then by turning the small nut clockwise this will allow for some small ajustment , pull up on the hand brake lever and check, (note do not screw the small nut off the end of the thread ,as it is a pain to get it back : )If there is no great improvement wind the small nut back till it's almost off the end.This will allow the cables to be at their slackest adjustment Step 3 Jack the rear of the car up till the wheels are clear of the ground, Place on stands and remove wheels, 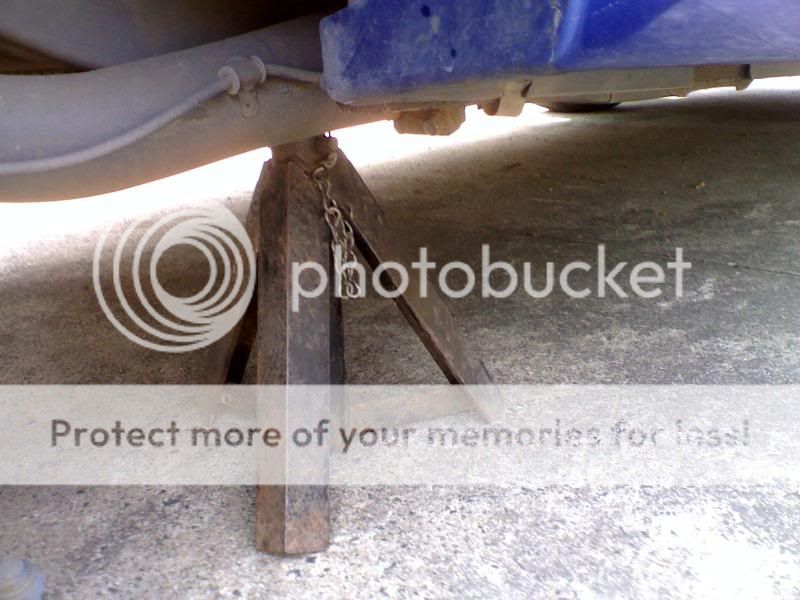 . Step 4 Remove brake caliper retaining bolts and slide caliper off (Note; there is no need to disconnet brake lines) ' Step 5 Remove large phillips head screw from rotor, this my take some doing and a impact driver may be required, also at this point I would soak the rotor centre ware it mounts the hub with Penetrene or simular as the build up of rust paint and grime can cause the rotor to jam on the hub, allgoing well the rotor should now come off the hub or some sharp tapping with a hammer around the hub and rotor may be required. 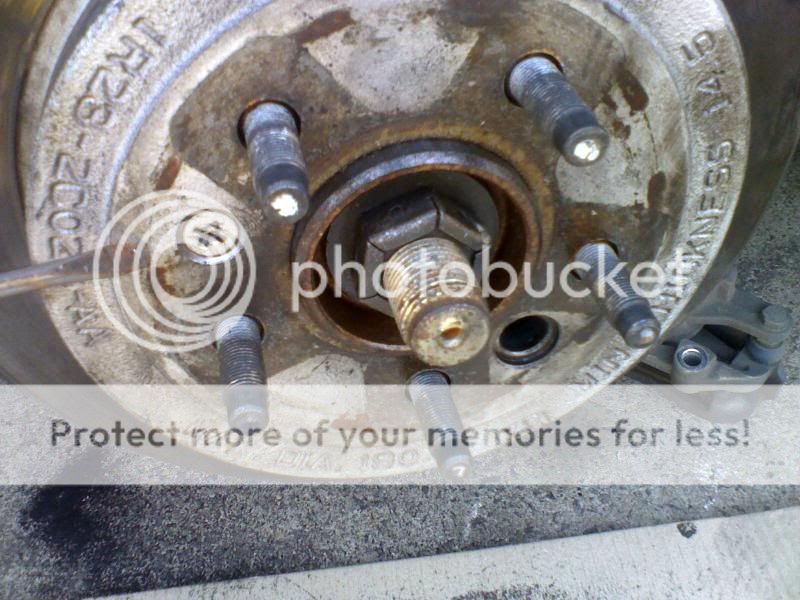 .  . Step 6 Once the rotor is removed you will see the the adjuster & outer handbrake ring.the ring is secured by a clip at the opposite end to the adjuster, 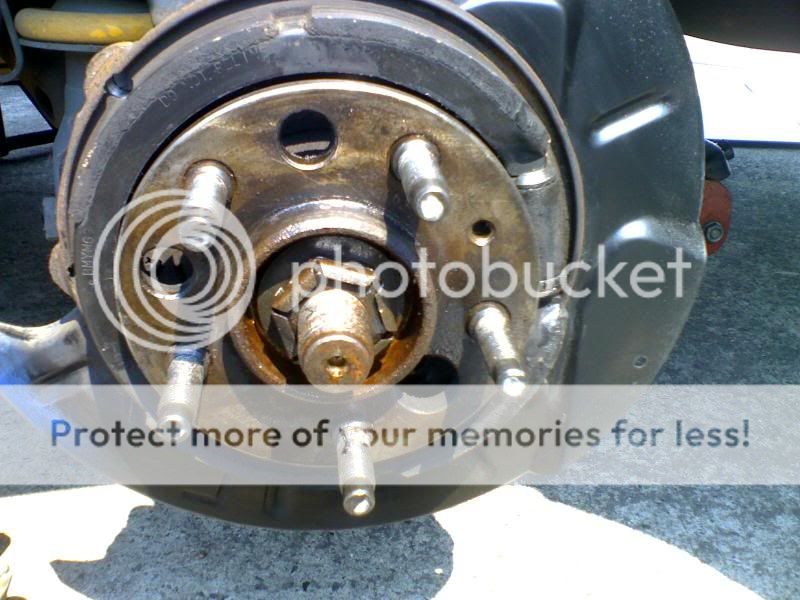 . This is easly removed by inserting a blade screwdriver between the shoe and the hub and gentely easing it away from the adjuster till clear of the clip. Once the ring is clear of the retaining clip it can be swug outwards towards yourself for removal. 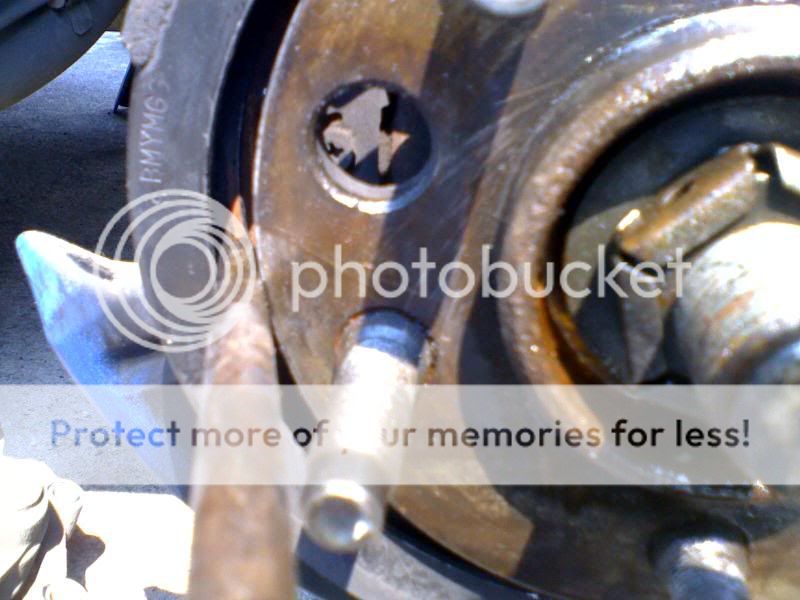 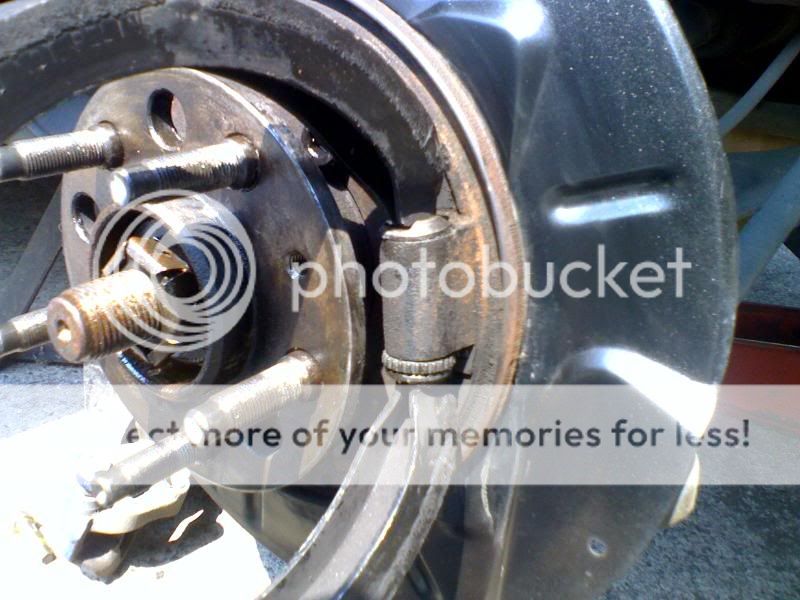  Step 7 At this point inspect the shoe on the outer ring for ware and replace if required. disassemble the ajuster clean repack with grease noteing how it came apart, slot and small pin to the top, adjuster to the bottom (make sure the adjuster is free to unscrew it self before refitting) 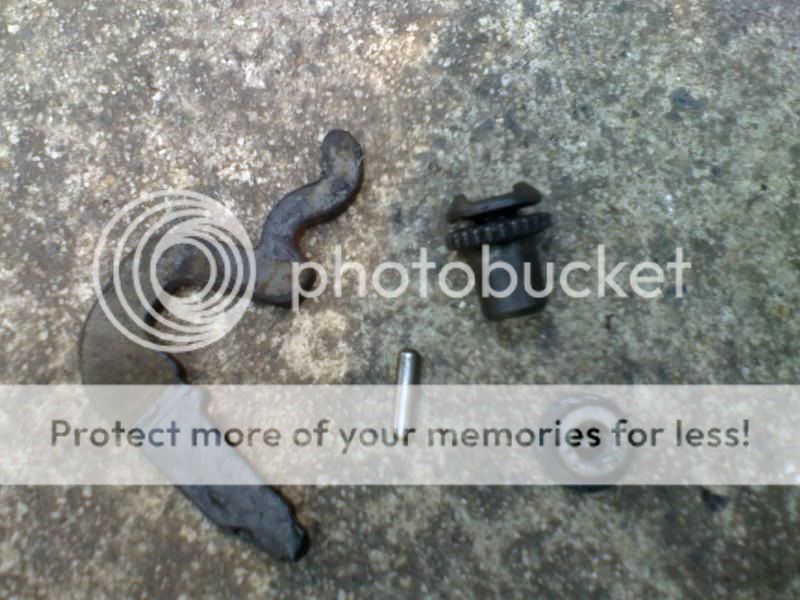 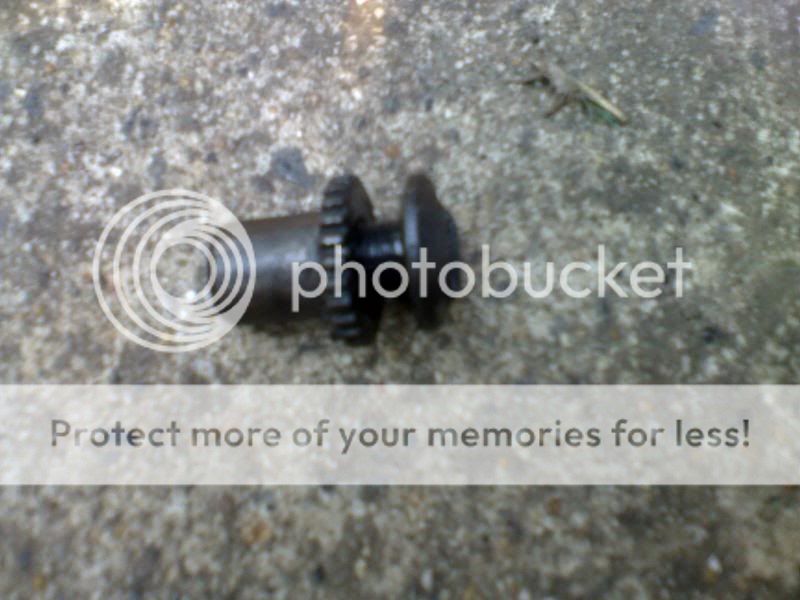 Step 8 Reassemble is the reverse of what you have just done, Note; when you slide the ring back on to the adjuster have the slots facing outwards and they should turn back inwards with the ring to be fitted back to the retaing clip. Also at this point I would clean with emery paper or file the build up on the hub center to allow easy refitting of the rotor 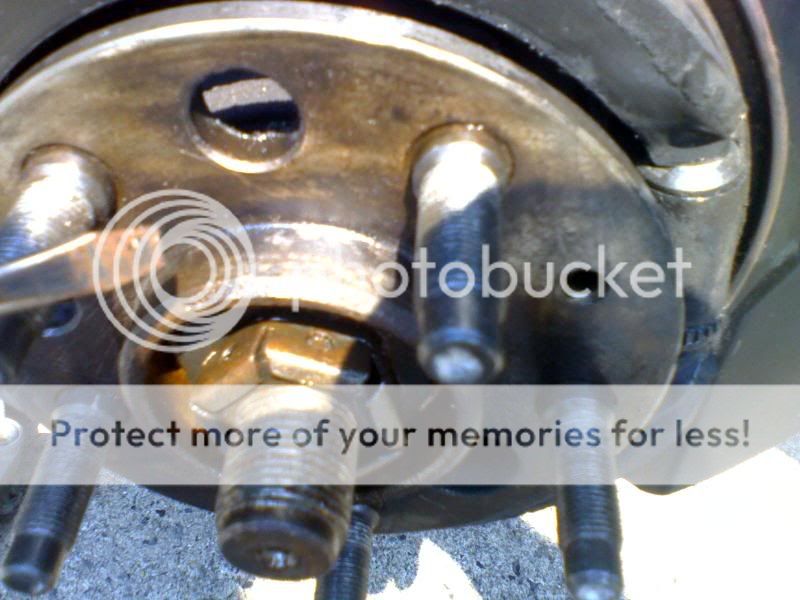 Step 9 With the adjuster screwed all the way in there should be plenty of room for the rotor to freely spin. by screwing the ajduster out a few turns at a time removing the rotor and spinning each time you should be able to find a point ware the handbrake shoe makes contact with the internal rotor but does not bind up as to lock the Rotor, When this point is reached thats about all you can do, Refitt the large phillips head screw and repeat on opposite side Step 10 Clean caliper bolts and re apply a coat of lock tight secure calipers back to vechical 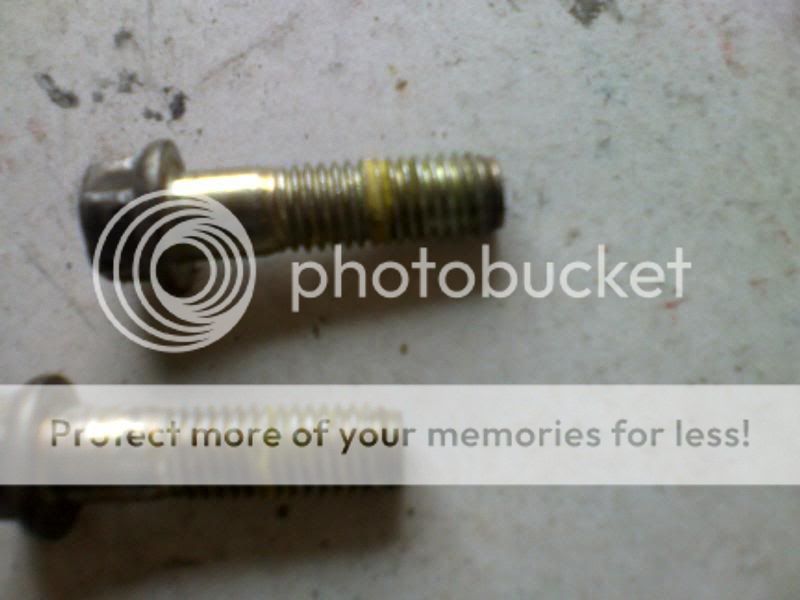 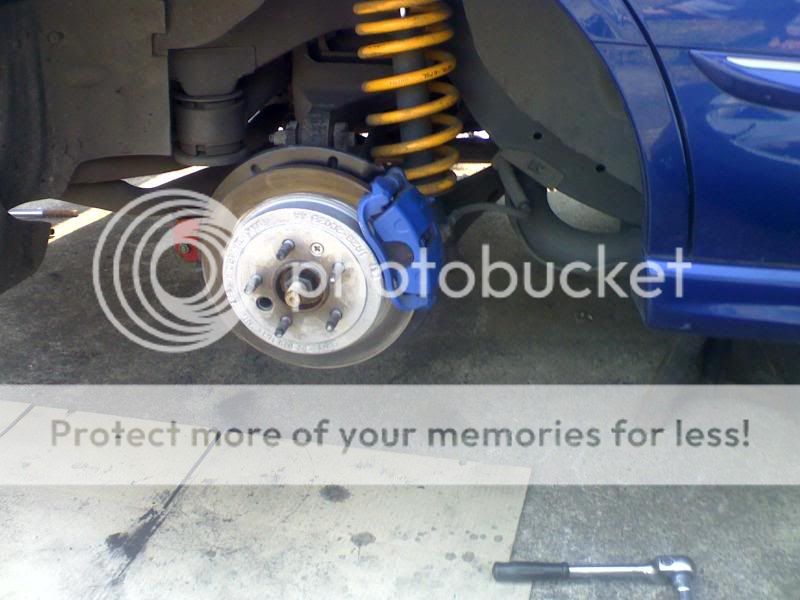 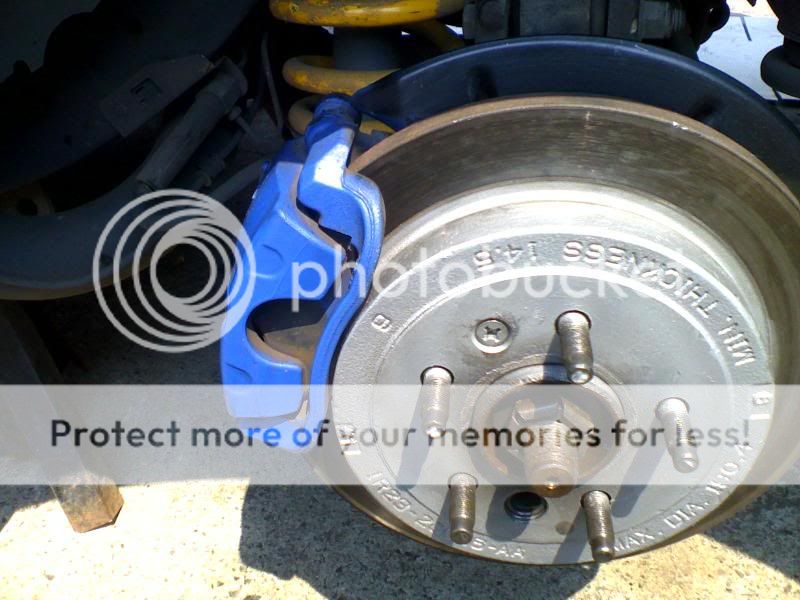 Replace wheels Step 11 Back inside the car you can now fine tune the adjustment with the threaded adjuster and small nut hopefully this should give you some sort of hand brake Note it may be nessasary to redo step 9 to gain optimun stoppage 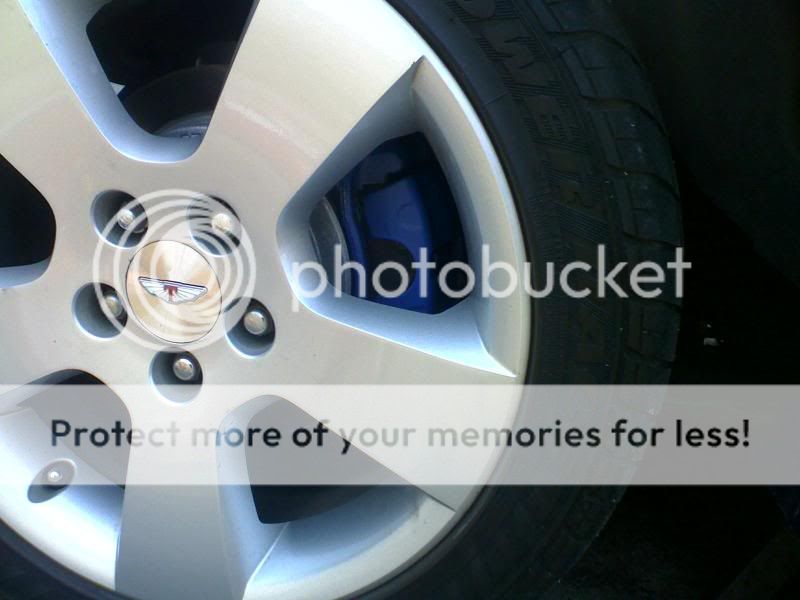  NOTE; this is a guide only and if you dont feel you are compentent enough to do this seek out professional help
__________________
........Age and treachery will ALWAYS overcome youth and skill....... CORTINA 250 2V POWER soon to be AUXR8 Windsor pwrd .............WINDSOR WARLORD WHO CARRIES THE CLEVO MAFIA AND BROKEN BOSSES... .........................  ......................... .........................Quote:
|
|||

|

|


 Threaded Mode