
|
|
 |
|
|
|
Welcome to the Australian Ford Forums forum. You are currently viewing our boards as a guest which gives you limited access to view most discussions and inserts advertising. By joining our free community you will have access to post topics, communicate privately with other members, respond to polls, upload content and access many other special features without post based advertising banners. Registration is simple and absolutely free so please, join our community today! If you have any problems with the registration process or your account login, please contact us. Please Note: All new registrations go through a manual approval queue to keep spammers out. This is checked twice each day so there will be a delay before your registration is activated. |
|
|||||||
 |
|
|
Thread Tools | Display Modes |
|
|
|
|
#1 | ||
|
Oh Yeah!
Join Date: Jan 2005
Location: Manhattan, NY
Posts: 1,023
|
I ordered a white background for my forte cluster but can't figure out how to remove the needles. One problem I don't want is putting them back in to find i get the wrong speed/readout. Though it looks like the needles just sit at the bottom line though when you move them around it varies a few km though i surpose thats cause iv been pulling at them and they are not sitting on properly.
So any advice in this area would be helpful 
|
||
|
|

|
|
|
#2 | ||
|
Oh Yeah!
Join Date: Jan 2005
Location: Manhattan, NY
Posts: 1,023
|
To add i havent messed around with the fuel/temp needles and when i push them up the slowly fall back down to normal. Though the speed/tacho that i have messed with when i put them up they stay up and dont fall down now. Not sure if this is normal or its something wrong with the way iv been pulling them off?
|
||
|
|

|
|
|
#3 | ||
|
○○○○○○○○○○○○○○○○○○○○ ○○○○○
Join Date: Mar 2005
Posts: 5,954
|
hey blink, sorry i cant help you, but i would be really interested in seing some pics of the white cluster after you have done it, and how you did it also... i am doind this also as my next small mod.
I am also really worried about screwing with the "true" speedo read out etc... thanks hopefully someone can help you out!  : :
|
||
|
|

|
|
|
#4 | ||
|
Oh Yeah!
Join Date: Jan 2005
Location: Manhattan, NY
Posts: 1,023
|
This is offtopic but mr bean rocks and they are making a mr bean 2 movie!
I checked formods the cloest i found was people recommending to use a fork.. actually just got an email from him saying... --- The easiest way to get the needles off is to use a fork to gently pry under them. The ones on the cluster I have popped off without too much effort . Putting them back on is even easier -- So ill guess ill be up for that I should get them tomorrow but definatly friday. As soon as I have them in ill post up pics. Also they come with blue numbers and stuff so you dont need blue leds and the needles should still light up fine. Will be interesting to see what they are like, im getting the first ones he has made. The other emtech ones costed $200 .. expenisve as hell. Found a much easier way of getting the cluster out then mentioned on aufalcon.com. Also make sure you dont brake off the little trip meter plastic stick that sticks out... I haven't and hope I don't! |
||
|
|

|
|
|
#5 | ||
|
○○○○○○○○○○○○○○○○○○○○ ○○○○○
Join Date: Mar 2005
Posts: 5,954
|
they are making a MR BEAN 2???
NO WAY! man rowan atkinson is a genious! a fork?! haha i used a spoon to retrim also! haha kitchen tools are great! cant wait to see the pics mate! |
||
|
|

|
|
|
#6 | |||
|
Miami Pilot
 Join Date: Jan 2005
Location: ACT
Posts: 21,704
|
Quote:
As AUGZMK said, turn the car on while putting the needles back on. What I do is turn the car all the way on (start it), then turn it off, then do the needles. Then before putting the clear plastic back on, turn the car on, then off again, and make sure all needles return to the bottom line on each gauge. The unplug cluster, add the clear plastic and the little black tape strip, plug it all back in and you should be right.
__________________
-----------------------------------------------------------------
The Hammer: FG GTE | 376rwkw | 1/4 mile 11.793 @ 119.75mph 1.733 60' (4408lb) 1 of 60 FG MK1 335 GTEs (1 of 118 FG Mk 1 & 2 335 GTEs). Mods: Tune, HSD/ShockWorks, black GT335 19” staggered replicas with 245 & 275/35/19 Michelin Pilot sport 5s Daily: BF2 Fairmont Ghia I6 ZF, machine face GT335 19” staggered Replicas with 245s and 275s, Bilsteins & Kings FPV 335 build stats: <click here> Ford Performance Club ACT |
|||
|
|

|
|
|
#7 | |||
|
Oh Yeah!
Join Date: Jan 2005
Location: Manhattan, NY
Posts: 1,023
|
Quote:
All you do is undo the two screws at the top of the cluster, remove the fuse panel cover (drivers side door down near hood release) then look up there and you can see the back of the cluster. Get a big screw driver or chisel (i found chisel works best) jam it behind the back of the cluster and leaver it out works easy as with no damage to the cluster. I used the allen keys and instead of it pulling the cluster out it broke the plastic pins holding onto the cluster. I need a new plastic front cover for my cluster now as the one i scratched a fair bit as the allen keys popped out first time and jabed it. The new way is much easier just one big push and pop its out with no damage or need for allen keys. |
|||
|
|

|
|
|
#8 | |||
|
Silhouette AU1 TS50.
Join Date: Dec 2004
Location: Radiator Springs, Victoria.
Posts: 2,135
|
Quote:
__________________
"People can have the Model T in any colour.. so long as it's black." HENRY FORD (30/07/1863 - 07/04/1947) PIC'S OF MY T1 TS50.
|
|||
|
|

|
|
|
#9 | ||
|
Silhouette AU1 TS50.
Join Date: Dec 2004
Location: Radiator Springs, Victoria.
Posts: 2,135
|
To remove the needles just use a screwdriver and lever them upwards gently. Use a something to rest the edge of the screwdriver on or else you might scratch the backing. Once you've put on the new white faced backing on, leave the clear plastic sheild bit off and plug the cluster back into the harness. Turn key to Ignition and set needles to zero.
__________________
"People can have the Model T in any colour.. so long as it's black." HENRY FORD (30/07/1863 - 07/04/1947) PIC'S OF MY T1 TS50.
|
||
|
|

|
|
|
#10 | ||
|
I wish I was a Pursuit...
Join Date: Jan 2005
Location: Albany WA
Posts: 402
|
Hi blinkau
Did u mention where you ordered your white background from? i am interetsed in getting one! cheers;)
__________________
:newangel:cassie 2001 AUII XLS Marlin Ute Silhouette, 5 spd MANUAL, Sports Bar, Tinted, 2.5” Exhaust, Pacemaker Extractors pics of my ute HERE |
||
|
|

|
|
|
#11 | ||
|
Oh Yeah!
Join Date: Jan 2005
Location: Manhattan, NY
Posts: 1,023
|
He lists them on ebay
ttp://cgi.ebay.com.au/ws/eBayISAPI.dll?ViewItem&item=7967296709 is the one i got so just search under his name he has them up all the time now. Im uploading pics you can see them at http://photobucket.com/albums/y67/au2/ It worked out real good and looks really good they come out sort of aqua blue and the needles still light up. I know the pics suck the camera we have sucks really bad you can barely see anything with it. |
||
|
|

|
|
|
#12 | ||
|
I wish I was a Pursuit...
Join Date: Jan 2005
Location: Albany WA
Posts: 402
|
thanks!
i just did a search on ebay and found them. product has AU forte written all over it- so would it fit any AU? btw your photobucket link didnt work- askin me to log in as you!
__________________
:newangel:cassie 2001 AUII XLS Marlin Ute Silhouette, 5 spd MANUAL, Sports Bar, Tinted, 2.5” Exhaust, Pacemaker Extractors pics of my ute HERE |
||
|
|

|
|
|
#13 | ||
|
Oh Yeah!
Join Date: Jan 2005
Location: Manhattan, NY
Posts: 1,023
|
They fit au1-au3 fote clusters they dont fit xr models or fairmont they are currently making those. So they fit the clusters with temp/fuel/speed/tacho only so far. So as long as you have the base cluster.
Here are the pics:  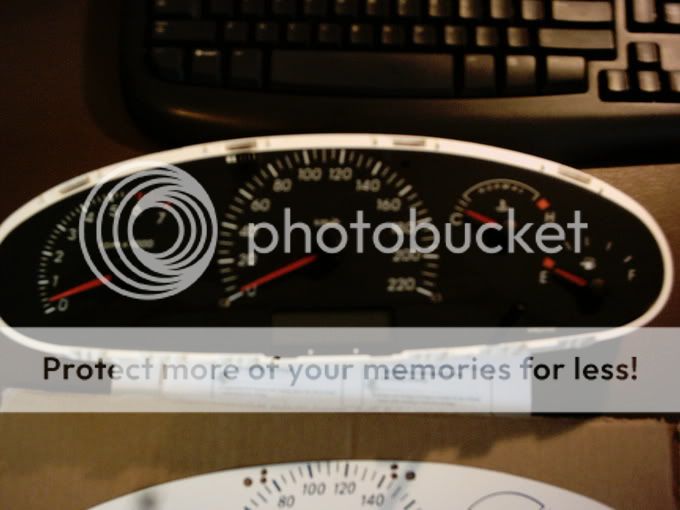 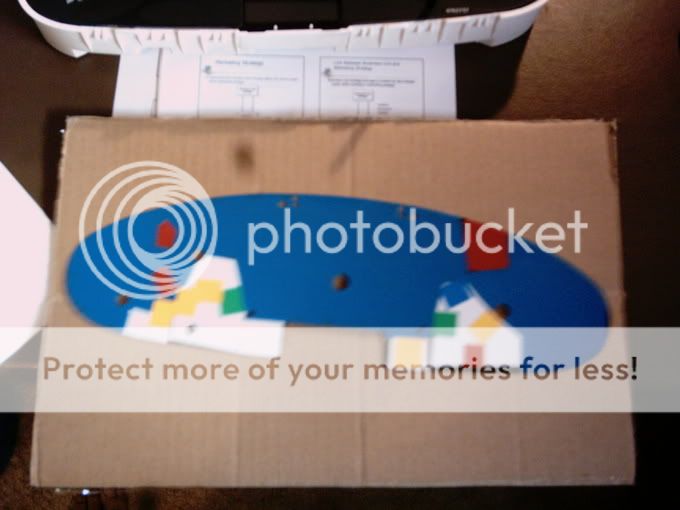  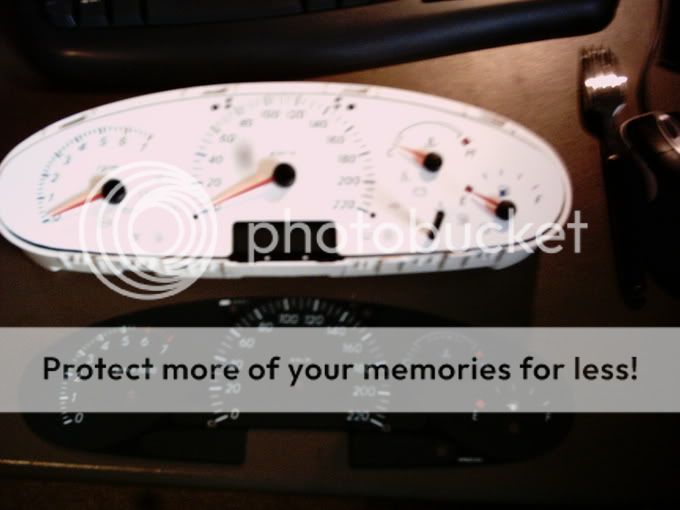 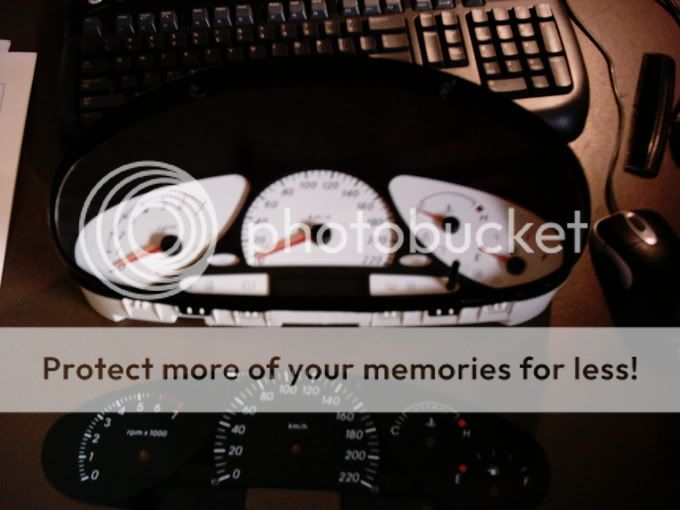   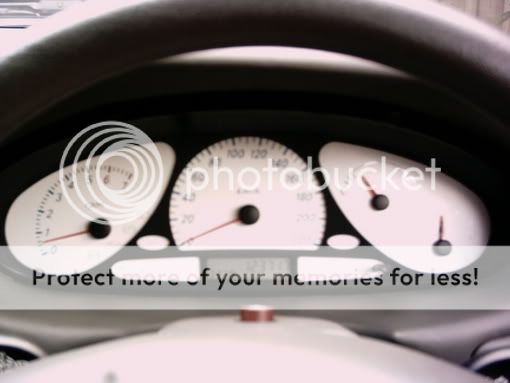 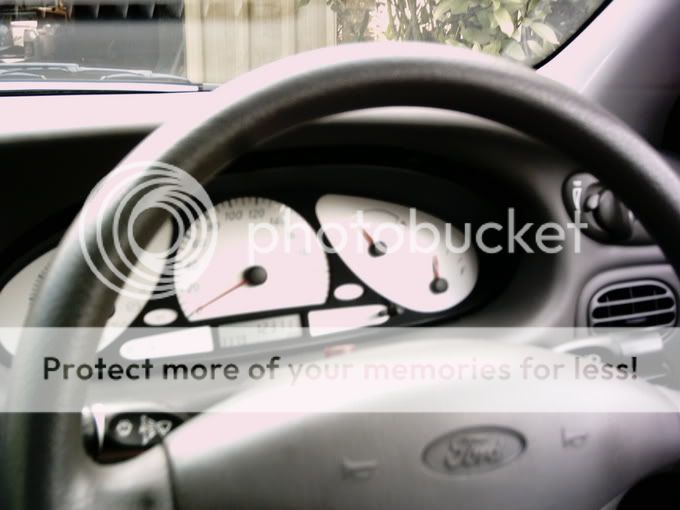 I know they are real blury and suck and a black dot keeps showing up in all of them. Also the night time ones are actually just from my garage during the day thats how bad it sucks. They come out real good hard to tell from pics. |
||
|
|

|
|
|
#14 | ||
|
○○○○○○○○○○○○○○○○○○○○ ○○○○○
Join Date: Mar 2005
Posts: 5,954
|
Very nice, i like!!
so there is no need to change light bulbs to get a blue led effect because the numbers etc are already blue? |
||
|
|

|
|
|
#15 | ||
|
Oh Yeah!
Join Date: Jan 2005
Location: Manhattan, NY
Posts: 1,023
|
Yup no need to change them. Works very well at night the needles light up red the base of the needle lights up a bit red giving it bit of a ring as well. The only things i found missing where... rpm x 1000 (now just says RPM) and under the temp guage it no longer says NORMAL. Iv emailed him though id say there is a reason he left them out. If your interested in some night time pics send me a pm and ill get some for you.
|
||
|
|

|